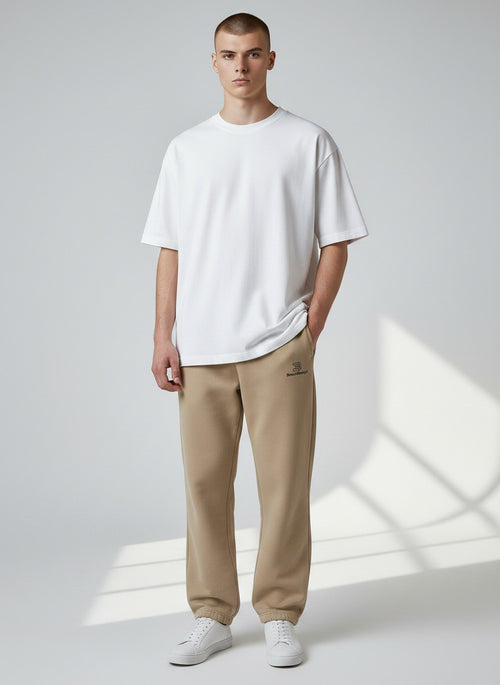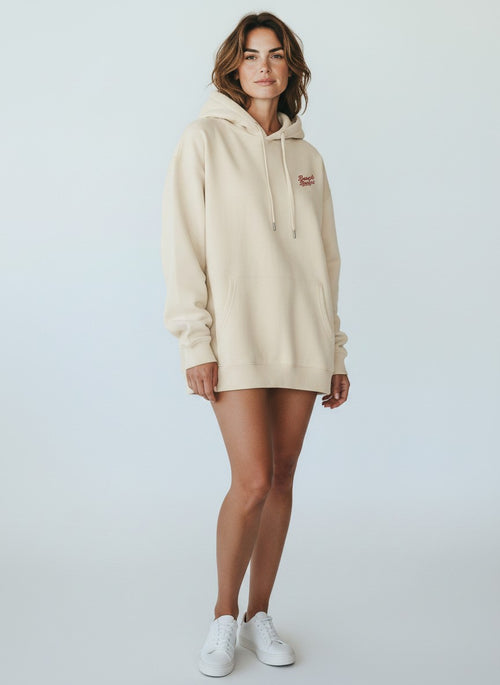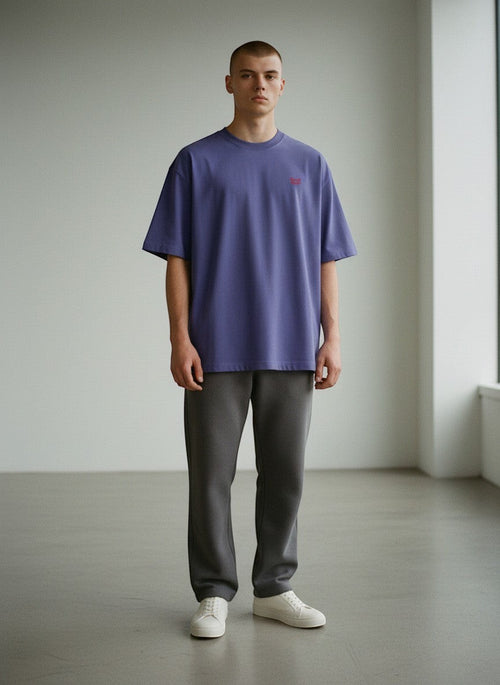
The standard position for logo embroidery is the left chest: 7 to 9 cm below the shoulder seam, 4 to 6 cm from the centerline. The recommended logo width for adult sizes is 7 to 10 cm, with the practical upper limit for embroidery areas being about 10 to 11 cm. These values apply equally to T-shirts, polo shirts, and sweatshirts and form the basis from which you can deviate for other textiles such as caps, jackets, or hoodies.
Why these specific numbers? Because they balance brand impact and wearing comfort. A logo that sits too high looks cramped. Placed too low, it disappears into the folds of the fabric.
- Left chest: Standard for most textiles
- Width: 7 to 10 cm, depending on garment size
- Maximum embroidery area: approximately 10 to 11 cm
- Fine lines under approx. 1 mm are lost in embroidery
Pro tip: Before having a logo digitized, check whether fine serifs or thin lettering fall under 1 mm line width. These details blur in the stitch pattern, no matter how high-quality the machine is.
Additional rules apply to caps, towels, or jackets; more on that in a moment.
Key takeaways
The left chest remains the most reliable position for logo embroidery, provided that measurements, material behavior, and technical limitations of embroidery are observed.
| Topic | Details |
|---|---|
| Standard position | Left chest, 7 to 9 cm below the shoulder seam, 4 to 6 cm from the centerline. |
| Technical upper limit | Maximum embroidery width is about 10 to 11 cm; finer lines under 1 mm are lost. |
| Maintain seam clearance | At least 1.5 cm distance from seams and zippers prevents distortion when worn. |
| Test stitch before production | A test on the original fabric reveals material behavior and color accuracy in time. |
| Material choice at Beachbodyz | GOTS organic cotton from Beachbodyz is suitable for embroidery but requires coordinated thread selection and a sample stitch before the production run. |
Why exact placement is more than just a matter of taste
A logo that sits a few centimeters too low or too far to the outside quickly looks unprofessional, even if the design itself is high-quality. Precise measurements are not a bureaucratic end in themselves; they protect the brand's impact. With sustainable materials like organic cotton, yarn and fabric behave differently than with mass-produced goods, which is why care in finishing is especially important.
Order samples and test your logo on sustainable fabric
Those who want to have their logo embroidered are usually looking for a fabric that is worth the investment. Beachbodyz offers exactly that: GOTS-certified organic cotton, produced fairly in the EU and durable enough that the embroidery lasts for years instead of fraying after the tenth wash.
The Identity Sweatpants with 320gsm show as an example how dense and stable the material is for finishing. Order a sample, check the test stitch on the original fabric, and only then decide on the bulk order. You can find the appropriate size chart for hoodies and sweatshirts in the size overview before placing your order.
Table of contents
- Where should a logo be embroidered on different textiles?
- How do you measure the correct position and size for embroidery designs?
- What technical limitations apply to embroidery?
- How to place a logo correctly step by step
- Embroidery or printing: Which method suits your logo?
- Sources
- FAQ
Where should a logo be embroidered on different textiles?
Every garment behaves differently under the needle. A hoodie has more fabric mass in the chest area, a polo shirt has a collar that restricts the space. The basic rule remains the left side, but the fine-tuning differs depending on the cut.
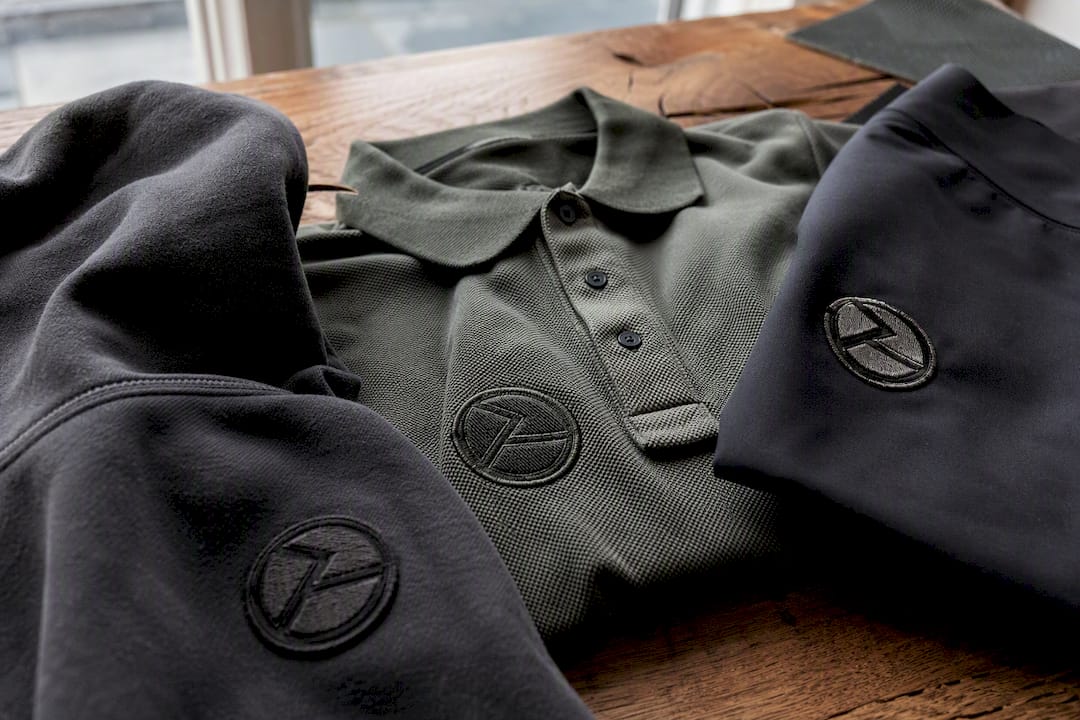
For T-shirts and polo shirts, the left chest is the established standard. On a polo shirt, the logo usually sits somewhat higher and closer to the collar because the placket area otherwise looks visually overloaded. A width of 7 to 9 cm works reliably here.
Hoodies need more space downwards, as the hood creates additional material and the logo would otherwise look squashed. Expect 1 to 2 cm more distance to the shoulder seam than with a classic T-shirt. A full-front logo that takes up the entire chest area only works if it is planned as a deliberate design element, not as an enlarged version of the small chest logo.
For jackets and softshells, the proximity to zippers and seam lines determines the position. Keep at least 1.5 cm distance from every seam, otherwise, the stitch pattern will distort when worn. Embroidery looks particularly high-quality on softshell material because the smooth surface makes the relief of the stitches stand out clearly.
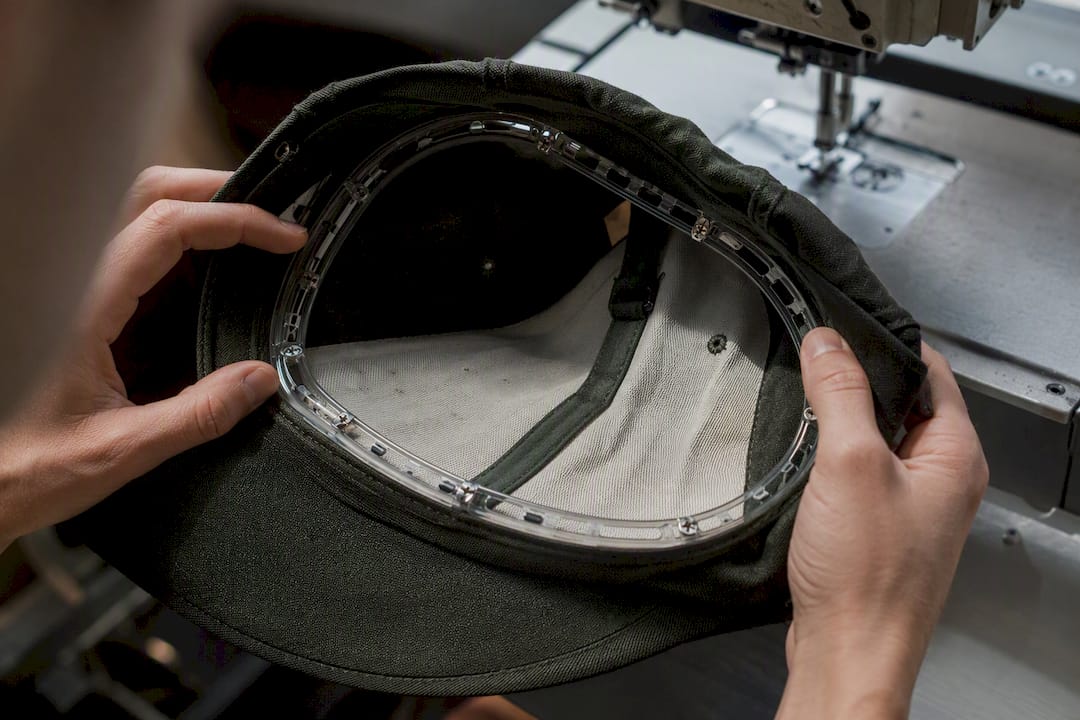
Caps and beanies require a different logic: Placement is in the center above the brim, usually somewhat higher than on a shirt so that the logo is not hidden by the brim when viewed from the front. A hat hoop ensures the necessary fixation here without the fabric distorting during the embroidery process.
For towels and bathrobes, more area is permitted. A centered position at chest height or on the lower hem works well, and the logo size can grow to 12 to 15 cm without overloading the look.
- T-shirt/polo shirt: left chest, 7 to 9 cm width
- Hoodie: slightly lower due to hood volume
- Jacket: Minimum distance 1.5 cm from seams and zippers
- Cap: centered above the brim, fixed with a hat hoop
- Towel: centered, larger area up to 15 cm possible
How do you measure the correct position and size for embroidery designs?
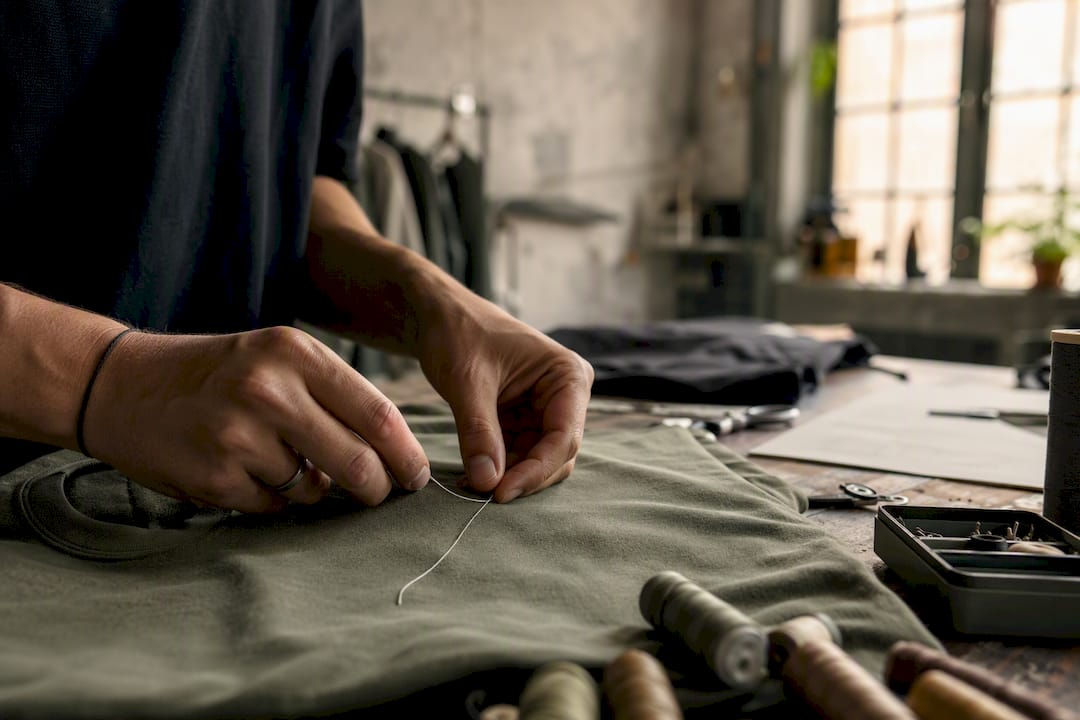
Before you even think about colors or fonts, you need a fixed reference line. The shoulder seam serves as the starting point, and the imagined centerline of the garment serves as the second fixed point. From there, you measure downwards and to the side.
- Mark the shoulder seam as the zero point, preferably with a water-soluble pen.
- Measure and mark 7 to 9 cm down from the seam.
- Determine the shirt's centerline and shift 4 to 6 cm to the left side.
- Define the intersection of both measurements as the center of the logo.
- Check the minimum distance of 1.5 cm to all seams before fixing it in the embroidery hoop.
These fixed reference values facilitate consistent production across multiple sizes, because a logo that fits perfectly on size M will look too small and lost on XXL.
A simple scaling rule helps with this: base width for size M is 8 to 9 cm. From size L, add 1 cm; from XL, add another 2 cm. This way, the proportions to the physique remain harmonious without you having to plan anew for every size. Anyone who works with oversize cuts more often should know: larger fabric areas shift the visual center slightly outwards, which is why they often work with a bit more width than regular-fit models.
The minimum distance of 1.5 cm from seams is not just a formality. Closer to the seam, the stitch pattern distorts during washing or wearing because seam tension and embroidery stitches influence each other.
What technical limitations apply to embroidery?
Embroidery has physical limitations that no design program can calculate away. The maximum practical embroidery width is about 10 to 11 cm; beyond that, the area becomes impractically large for standard hoops, and embroidery time increases significantly.
Small details under 1 mm are simply lost in the stitch pattern. This applies to fine lettering just as much as delicate line drawings in logos. A minimum line width of about 1 mm is the practical lower limit; for font sizes, the minimum additionally depends on the chosen typeface. Serif fonts need more room than simple, geometric fonts.
For digitization, i.e., converting a logo into an embroidery file, the following applies: vector formats like AI, EPS, or SVG are the preferred starting basis. Where no vector is available, a PNG file with at least 300 DPI and clear contours is sufficient as a last resort. During the actual punching, i.e., stitch planning, the digitizer decides which areas are executed as fill stitches and which as outlines.
- Maximum embroidery width: 10 to 11 cm
- Minimum line width: around 1 mm
- Ideal file formats: AI, EPS, SVG
- Alternative: PNG with at least 300 DPI
- Color matching ideally via Pantone or RAL values
Design decisions regarding actual feasibility fall exactly into this digitization step. Talking to the finisher early on instead of simply sending the finished logo "to be embroidered" saves expensive correction loops.
How to place a logo correctly step by step
Good placement does not happen on the screen, but on the fabric itself. Anyone who follows the following steps significantly reduces misprints and expensive reorders.
- Prepare tools: placement ruler, hat hoop for caps, water-soluble marking pen, and a test shirt made of the original material.
- Measure and mark the position according to standard dimensions.
- Fix the textile in the embroidery hoop, ensuring even tension.
- Perform a test stitch on the test material.
- Conduct a visual and wash test to check for distortion or color change.
- Check off the checklist before production approval: measurement, alignment, stitch density, color accuracy, material behavior.
With elastic or heavily structured fabrics, an additional backing under the fabric is often needed so that the material does not distort during the embroidery process. Practical guides confirm independently of each other that a test stitch before the start of production is necessary because cut and material density change the final result more than many expect.
Pro tip: Always perform the test stitch on a scrap piece of the actual production fabric, not on a generic test textile. Organic cotton reacts differently under the needle than synthetic blended fabrics.
Embroidery or printing: Which method suits your logo?
Embroidery scores points for durability and feel. It is excellently suited for logos with few colors and small areas, such as the classic chest logo. Corporate clothing especially benefits from this because embroidered motifs withstand frequent washing significantly better than many printing processes.
Printing shows its strengths with color gradients, photo motifs, or large-format back prints. Where embroidery reaches technical limits, such as with fine color transitions, printing provides the better image quality.
In practice, a combination has proven successful: embroidered chest, printed back. This combines the high-quality look of embroidery in a prominent place with the creative freedom of printing for larger areas.
- Embroidery: durable, tactile, ideal for small, color-reduced logos
- Printing: more flexible with color gradients and large areas
- Combination: embroidered chest plus printed back as a proven solution
- For larger quantities, a material test in advance is often worth it
How does a sustainable streetwear brand implement embroidery requirements?
At Beachbodyz, the Oversize Sweatshirt, hoodies, and the Signature Windbreaker are particularly well-suited for embroidery. GOTS-certified organic cotton absorbs stitches differently than conventional blended fabrics, which is why the thread choice must be carefully coordinated. Before every larger order, a sample stitch on the original fabric is recommended, not on a substitute fabric.
Sources
For in-depth measurement details, the practical guide to logo placement with concrete measured values is worth it. Anyone interested in the application areas of embroidery for workwear will find a practice-oriented article on the topic. Beginners additionally benefit from a step-by-step guide on placement technique.
FAQ
Where is the best place to position a logo for embroidery?
The left chest is the most common position, 7 to 9 cm below the shoulder seam and 4 to 6 cm from the centerline.
What minimum distance applies to seams and zippers?
At least 1.5 cm distance prevents the stitch pattern from distorting when worn or washed.
How do you position a logo on a cap?
On caps, the logo sits in the center above the brim, fixed with a hat hoop so that the fabric does not distort during embroidery.
How do you correctly position embroidery designs on different fabrics?
The shoulder seam and centerline serve as fixed reference points; adjustments are then made depending on the textile, e.g., lower for a hoodie or with more seam distance for jackets.
What logo size is reasonable for embroidery?
For adult sizes, 7 to 10 cm width is recommended, with the practical upper limit for embroidery being about 10 to 11 cm.